Daytime temperatures hovered around 70 degrees, unseasonable to say the least for the first of December, and the blanket of air that arched across the daytime sky was a piercing clear blue. But as the sun settled behind the western ridge, those temps began to drop and the blanket of blue became a crisp and clean ebony universe filled with more stars than I have ever seen, their unexpected brilliance and shimmering nature uplifted my spirits and as I gazed upward through the canopy of trees that arch over my campsite, I felt as though I was being drawn high to join them amongst their lofty domain.

This adventure photography series I've been pacing through the past few months has brought me into contact with some incredible moments. The idea behind the series is simply about "The Experience of Being There"... to encounter nature through the eyes and heart of a photographer's mind set. But, it is more than that. It's actually more about the experience than the photographs. The photographs only serve to document the moments and their impact falls well short of the emotional influence generated by placing yourself inside an uncommon outdoor situation.

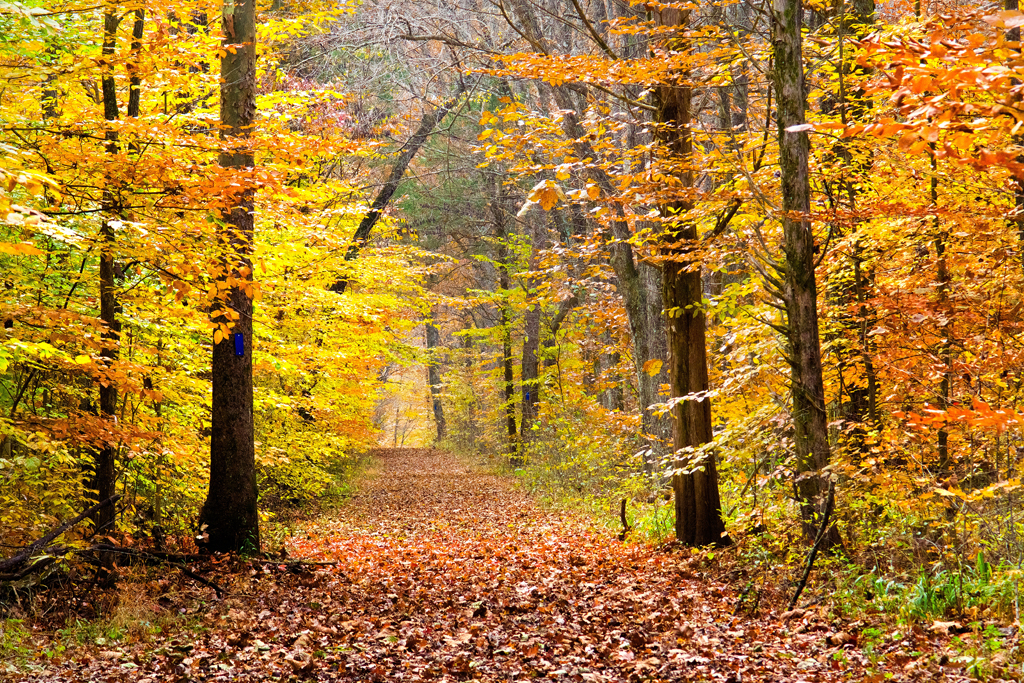
That single night camping out under the stars became an iconic moment within the Adventure Photography realm. I backpacked once again into my favorite location within the backcountry of Mammoth Cave National Park...The Bluffs. My intent was to do less photography and more just camping and relaxing. But I knew the evening was soon to fall upon me and the forecast was for a dark, clear night. With that in mind, I set about finding locations around my campsite that would offer a good field of view through the trees for some time lapse sequence photography.

As the evening fell, a thin remnant of clouds began to glow above the distant ridge and shortly after, the sky rapidly grew dark and the stars began to wink into life. The first points of light were the planets Venus and Jupiter, two very bright lights to the southwest that hovered just above the ridge on the other side of the deep ravine below where I was camping. Shortly after Jupiter and Venus came into view, Saturn blinked to life almost perfectly evenly position between the two others. The three of them created a 45 degree arch across the darkening sky. Before long, thousands of other stars came into view, some brighter, some pin points, some with a fuzzy glow around them, some white, some bluish, some yellow in hue. Their seemingly random placement across the sky appeared to have a planned artistic symmetry applied to their placement with in the canvas of the night.
The tall trees surrounding me extended their reach upwards as though somehow knowing they added to the majestic nature of this incredible starry night. The first time lapse took close to 2 hours to complete, 200 15 second exposures taken at 20 second intervals. A quick look revealed that my campfire had provided an extra element to the scene by its flickering flames illuminating nearby tree trunks.
The next two sequences were shorter, 150 20 second exposures taken 25 seconds apart. It too revealed a remarkable song of light arching across the night sky with the canopy of trees providing a guiding arm to their movements.
By 10pm, the constellation Orion came into view rising above the ridgeline. It is perhaps my favorite of all the constellations as it is big, bold, and bright especially on a clean and clear night like this one. With the naked eye one can see the Orion Nebula glowing as the middle star of the hunters sword. My goodness, it was so bright and clean, the sight of it was an experience of profound dimensions.
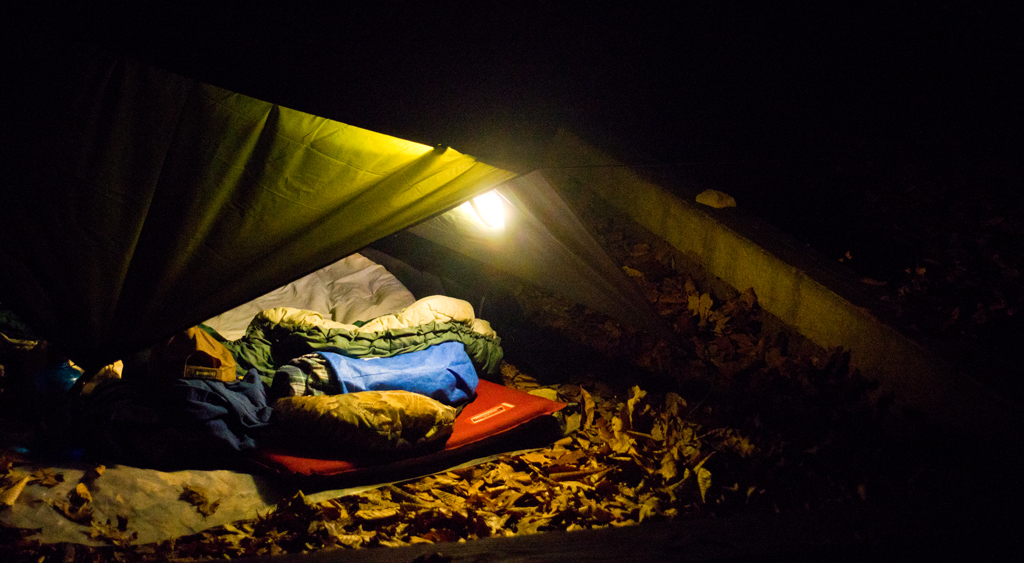
I set up my camera pointing toward this collection of stars...same exposure values...and fired off the sequence. As the intervalometer triggered each image one by one, I crawled into my sleeping bag under a simple tarp strung between two trees.

Time was taken to make a journal entry as the thoughts were fresh on my mind...and I dozed off to the rhythmic clicking of the camera and the yelps and howls of a pack of coyotes.
It must have been because the camera stopped firing off that awakened me. I crawled back into the brisk night air and gazed upwards again. There are no words than can describe the sight. No moon was out, yet the stars were so bright, faint shadows were being cast by their light. The sky simply glowed with starlight, like a symphony, the musical tones of their performance was almost more than I could absorb. I no longer felt the coolness of the night air, warmed instead by a sight so indescribably beautiful, it all but brought a tear to my eyes.
I repositioned the camera, reset the intervalometer, and fired off another sequence. Reluctantly, I crawled back into my sleeping bag under the tarp. The warmth it provided calmed my emotions and I simply laid there listening to the clicking of the camera every 25 seconds and the occasional howl of coyotes was joined in chorus by several owls hooting through the night. I do believe they were also in awe of this special edition of the night sky.
I must have dozed off again briefly, but before long the camera stopped clicking as its sequence was complete. One more excursion into the night air...one more long view through the canopy of trees...one more long gaze at the most perfect night sky I've ever witnessed. The visions generated by that moment, haunted me throughout the evening as sleep became a rare event and only around 4AM did I finally doze off. When I awoke, daylight was upon me once again.

A much better story teller writer possibly could describe the feeling of the night in a way as to truly capture the essence of the moment. Although, I'm not so sure really anyone could fully describe the impact it had on me. I've spent may hours over the years photographing the night sky and from time to time encountered dark and brilliant nights. None compared to this one. It was truly an Unforgettable Night. One in which my spirit was lifted high into the realm of the stars, and I felt as though I soared amongst them.