ESTABLISHED 2010 - Beyond The Campfire was created to encourage readers to explore the great outdoors and to observe it close up. Get out and take a hike, go fishing or canoeing, or simply stretch out on a blanket under a summer sky...and take your camera along. We'll talk about combining outdoor activities with photography. We'll look at everything from improving your understanding of the basics of photography to more advanced techniques including things like how to see photographically and capturing the light. We'll explore the night sky, location shoots, using off camera speedlights along with nature and landscape. Grab your camera...strap on your hiking boots...and join me. I think you will enjoy the adventure.

Tuesday, September 26, 2017

Portrait Studies: Creating a Character Portrait

The world is full of characters and we who live in Kentucky have our fair share of them. Some are a bit rough around the edges, some are the salt of the earth, while others...well, lets just say they are bit more or less rough in their character ways. As a photographer, they all make great portrait studies, for they do come in all shapes and sizes and demeanor's.


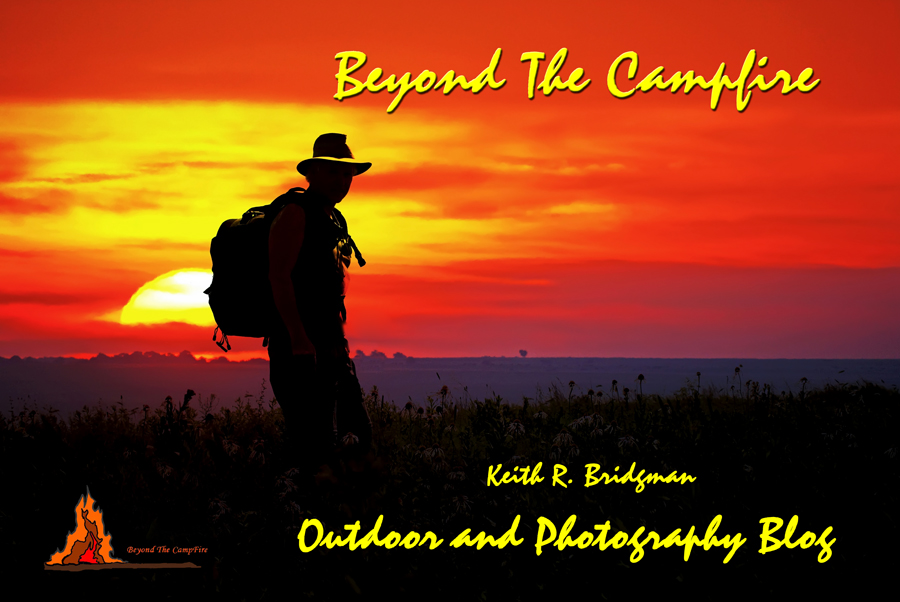
This past few years I've been shifting my photographic efforts in a different direction...I've been doing more location shoots with more Characters...actually a better definition would be Situational Characters. What I mean by this is to shoot different situations using someone like a cowboy and his horse, or a biker and his Harley, or a farmer and his tractor, a homeless man sitting on a bench, and even a fireman and his fire truck, or as I recently accomplished, a pilot and his airplane.

The idea I keep tossing around is to find as many situations as I can and setup an interesting location along with dramatic lighting. Finding a willing Character model is only part of the problem...possibly even the most difficult part of the equation. Capturing them photographically boils down to following your creative instincts and patience. To accomplish this you have to be not only a photographer, but a weatherman, a choreographer, a salesman, a geographer, an historian, a magician, and also an optimist who keeps his fingers crossed hoping it all falls together. In essence, you must become a multi-dimentional character yourself.


Creating a character portrait demands you effectively blend your character with the light and location. Location is just as important as light and sometimes can require a great deal of leg work to find. How you compose the image depends on the location because you want to include in the background the supporting elements that enhance the moment. Angles are critical for the shooting angle can make or break the portrait. Not every portrait should be shot from eye level. How you make the exposure depends on the ambient light where dark skies can create drama and mystery, or colorful backlighting can set the moment in its proper place. Creative use of the white balance setting can dramtically alter the look of the image. Adding that creative flair also requires you to master the use of off-camera speedlights. Having it all come together at the same time requires the use of sorcery.

The idea on creating a character portrait is to shoot for one single image. It may require many photographs and a lot of trial and error, but the idea is not to do a typical high school senior location shoot where you take and provide a bunch of photos. The idea is to visualize what you want to accomplish, create the setting, add the accent light, throw in some dramatic lighting, and hope your character stays in character during the shoot. The result can often be stunning.


Monday, September 18, 2017

Photographing the Athletic Body

I have for quite some time been a strong advocate for diversifying photography skills. What I mean by this is to be willing to try different types of photography, cross training as I call it. I cut my teeth on nature and landscape photography and I still consider this to be my primary roll. However, I have learned just how important it is to try new and exciting types of photography including portraits, both in the studio and on location, astrophotography, a little sports or action, still life, incorporating flash or speedlights in what I do, and even a little video from time to time. This diversity I do believe has made me a stronger, more rounded photographer mainly because I have avoided falling into a rut , or stated another way, always doing the same ole thing the same ole way.

Some types of photography can be further broken down into separate sub-types, like portraits. I have fallen in love with shooting portraits, especially location shoots. By doing so it has forced me to learn how to use artificial lights to a greater extent than I even realized was possible. Using speedlights on location has opened up an almost limitless array of possibilities by allowing complete control of the lighting. This alone has parlayed into trying other sub-applications. One such application is photographing the athletic body.

Due to budget restraints I recently constructed a pair of DIY strip lights. Strip lights are a tremendously useful lighting tool allowing you the photographer a wide range of lighting capabilities. They are long relatively narrow light boxes that provide a linear light angle making it possible to photograph the body with highlights along the length of the athletic body helping to define and separate the body from the background.

It also helps to have a son, Christopher, who is rather athletic and willing to pose as a model from time to time, so it was only natural to try these lights with him. So here is the setup.

First of all the shot was taken outdoors late in the afternoon and not in a studio. The late afternoon light was still realitively bright, but I wanted him framed against a black background. To make this work, I had to kill the ambient light with my exposure. On manual mode I set the shutter to 1/125, the ISO to 100, and the aperture to f/5.6, just to see what would happen. As it turned out, the ambient light all but disolved and the background became virtually black.

Next, I set the two strip lights slightly behind and to either side of Christopher. This effectively provided a rim light that created a nice outlining exposure along his arms and sides. It also provided a cross light that helped to define his muscle groups.

The thrid light came from a 32 inch octobox placed on a C-stand and elevated to where it was slightly in front and slightly to one side. The octobox provided a nice downward flow of light that created the muscle defining shadows so important for capturing the athletic body.

After the initial setup, it was just a matter of getting the power settings on the lights adjusted to provide the proper exposure values. Many photographers will use light meters and worry about lighting ratios between the key light and the accent lights. That is all fine and good, but I simply use the instinctive method of trial and error...when it looks right it is right regardless of what the ratios are.

You do not always have to use strip lighting to capture the athletic body. Sometimes a simple bare speedlight or two will do the job. In this next image, that is exactly what I did.


I used two speedlights, one set behind and to the left of the young lady athlete and one set in front and to one side. This shot was made during a special photography outing with several other photographers and models. On this particular shot there was a black backdrop, provided by another photographer, setup behind our model. All I did was move the lights around and snap the shutter allowing the motion freezing aspect of the speedlights to do their job.

The athletic body is certainly an interesting and exciting subject to photograph. Using speedlights, strip lights, or whatever suits your situation can transform you images into works of art. Also photographing the athletic body is a great way to learn about lighting angles. Like an artist who draws the human body to learn about its form, shape, how light flows across it, and positioning, photographing the athletic body helps the photographer better understand how to apply light to almost any given portrait situation. It also serves as a great learning tool or proving tool as to how to apply off camera lighting to your portraits.